Guitar Buffer Pedal Knowledge – True Bypass vs Buffered Pedals
The third and last part of the Six String Sensei Absolute One Stop Guide to the Guitar Pedal Board has to do with true-bypass vs. buffered pedals and location options for a guitar buffer pedal – A VERY debated subject.
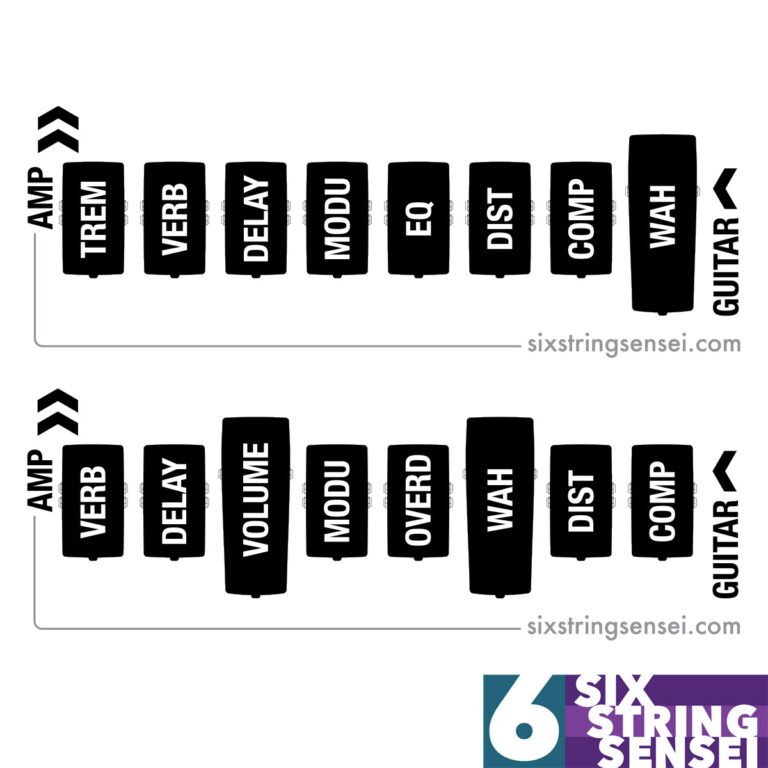
In the previous feature on guitar effects pedal order we focused on the general rules for best results when setting up the order of your pedals. When it comes to whether true-bypass or buffered pedals are best, the order of your pedals is a VERY important factor to consider. Mainly, to establish where in the chain you want buffers.
But, before we continue, let’s establish what true-bypass and buffered pedals are:
True-bypass pedal: A true-bypass pedal is one that completely and mechanically disconnects your guitar’s lead signal from the pedals circuit so that none of it is touching the pedal’s circuit.
Buffered pedal: Put simply, a buffer for guitar is an electronic device that takes a high-impedance signal and converts it into a low-impedance signal. Pedals that are not true-bypass generally have a buffer to convert the signal of your guitar from high-impedance to low-impedance.
While it’s a little past the scope of this feature, it should be mentioned that many pedals throughout the years have claimed to be true-bypass, but many really are not. Oftentimes, the switch in the pedal opens the circuit at the end of the circuit board while closing the connection of the guitar signal to let the signal through. Unfortunately, at the beginning of the circuit board, the signal is still “touching” the pedal’s circuits even though the signal it cannot make it all the way through.
The result of this is what’s typically known as tone-sucking. That’s when a pedal sucks tone out of your guitar even when it’s turned off. To effectively have true-bypass, your guitar’s signal needs to be completely disconnected from the effects-pedal circuit a both the beginning AND the end of the circuit. This is usually done with a 3PDT (3 pole double throw switch) to allow for the activation of an LED. Not all true-bypass pedals use a 3PDT switch – Many modern pedals (like the DigiTech Hardwire pedals) effectively do the same thing using a more sophisticated relay switching system. You can’t easily see it in work, but it is true-bypass.
On to what’s best. True-bypass or buffers
Now, I’m not here to act like the supreme overlord of technical guitar jargon. I’m not going to act like a scientist and give you a bunch of complicated numbers that will only cause confusion. (I’m not saying you’re dumb either). But let’s simplify it a bit and talk in easy to remember terms… [Even if the technical know-it-alls of the guitar world decide to flame me.]
The signal that comes from your guitar is high-impedance and a buffered signal is low-impedance.
Don’t get confused thinking that the “high” impedance signal is stronger and more stable than the “low” impedance signal. It’s the other way around! The low impedance signal is stronger, more stable and the chances of it losing quality are less.
The trick I use to remember that is to remind myself that “impedance” comes from the word “impede” which means, according to Mr. Webster, “to interfere with or slow the progress of.”
To help it make even more sense… Here’s another way of liking at it: If the signal has low-impedance that means it’s a signal that has low interference. Easy enough, right? Good!
The same way an electrical current loses power due to something called capacitance (where the density of conductive material sucks up some of the power), the weak high-impedance signal coming from your guitar pickups is very susceptible to capacitance and therefore, tone loss. The longer your signal chain, the worse. In other words, the more metal (cables, switches, circuits) the more the high-impedance signal is going to suffer.
By the time the signal gets there it’ll be huffing and puffing like a smoker with asthma running a marathon.
Think about it this way… If you use a 25 foot guitar cable that allows you to jump around on-stage like an epileptic monkey, and you have 10 true-bypass effects pedals on your board, and another 25 feet of cable from the board to the amp, that’s effectively over 55 feet of cable if you factor in the patch cables on the actual pedalboard. If all the pedals are off, you have a weak high-impedance signal coming out of your guitar pickups, which is having a dang hard time trying to make it past 55 feet of cable all the way to your amp. By the time the signal gets there it’ll be huffing and puffing like a smoker with asthma running a marathon. Therefore, you get tone-loss – and lots of it.
To make matters worse, you then turn on one of your pedals and the signal gets stronger from there on after effectively raising the volume of your guitar and messing with the tone. For that reason, it’s important that some sort of guitar buffer pedal is placed somewhere in the signal chain to help stabilize it, and to help with long cable runs.
The reason true-bypass pedals are great is because most of the time buffers tend to color your signal. Of course, this depends on the quality of the buffer. Some buffered guitar pedals yield a noticeable change in tone, while others are nearly transparent. The problem is that many guitarists that don’t have a good ear for tonal changes take the easy route and simply use a catch-all and tag all buffers as evil. The better way to go about it would be to A/B test various buffered pedals and listen for tone coloring. Then compare that to some true-bypass pedals. The bottom line is you want to sound good.
Balance is the key
But, no matter what, if ALL your pedals are buffered you are effectively increasing the chance of unwanted tone-coloring and the possible introduction of noise from all those buffering units. This is because the adverse effects of multiple buffers (and any other type of signal coloring culprits) are cumulative. So, the key here is to find the right balance between buffered and true-bypass pedals.
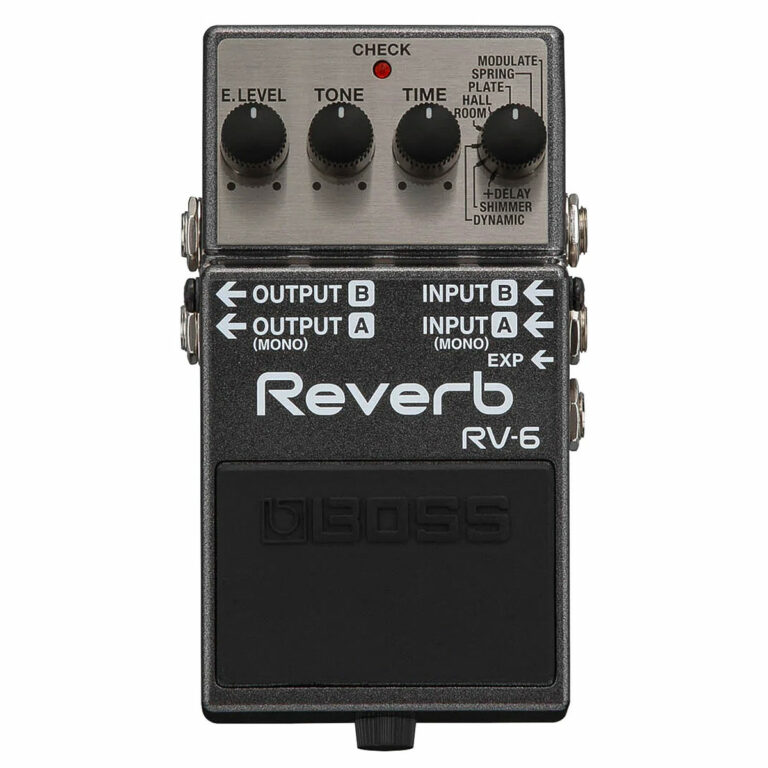
Buffers can be standalone or as part of a pedal. For example, the famous Boss TU-12 tuner is a common pedal in the beginning of many guitarists effects chain. That pedal has a pretty good buffer – Nothing amazing, but certainly not bad either. More discerning guitarists will often buy a dedicated buffer that they can test at different points in the chain for the results they are chasing.
Now this is when things get hairy. Go to any guitar forum, search for threads about buffers and you’ll go crazy trying to figure out what to do. Some guitarists recommend a buffer at the beginning of your board, some recommend it at the end, while still others recommend two, one at the beginning and the other at the end before the cable run to the amp.
In the pedalboard I used as an example in the first part of the Absolute Guitar Pedal Board Guide, the very first pedal in the chain is a dedicated custom-made buffer. The cool thing is, it has a true-bypass switch, so it allows me to turn the buffer on and off to test the difference. Haha. So essentially, it is a true-bypass buffer – How’s that for ironic and confusing?

Let’s talk about the reasoning behind the location of the guitar buffer pedals.
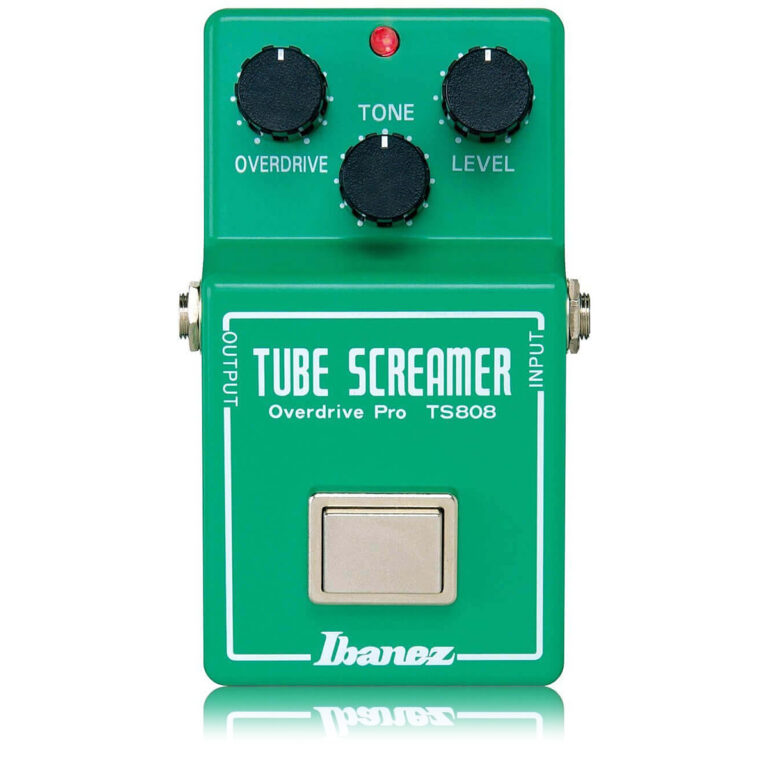
- Buffer 1st in the chain – The benefit of this location is that it feeds all your pedals with the same, strengthened low-impedance signal. As soon as a pedal is turned on, the output of that pedal is responsible for the rest of the signal chain. But as soon as the pedal(s) is off, the load goes back to the buffer. This is a very popular buffer location. However, this location doesn’t come without any perils. Keep in mind that certain fuzz and distortion boxes, namely the ones that use germanium diodes work better with the direct high-impedance signal of the guitar. For pedals like these, it’s better to put the buffer right after them, even if it’s still near the beginning of the chain. That’s another benefit of having a buffer with a switch, it can be turned off before running a fuzz box. But of course, if you will be using the fuzz box a lot, might as well just put the buffer AFTER it and leave it on all the time.
- In the middle of the chain – This is sort of what I was talking about near the end of the first point. Oftentimes, you have pedals that don’t sound good with a buffered signal. For those you can just move the buffer further down the chain. If you have a couple of germanium pedals and a wah that you prefer the sound of without buffering, by default your buffer will end up near the middle of the chain. Done deal.
- Buffer at the end of the pedal chain only – This setup means that the entire signal goes from your guitar, through all-true-bypass pedals and runs into a buffer right at the end of the pedalboard before the signal heads out to the amps. The logic behind this setup is that the effects pedal chain is completely unaffected by buffers, but then right after the last effects pedal, the signal is “strengthened” to make it’s final run to the amps. This setup is particularly good for smaller pedalboards with long cable runs back to the amps on a big stage. The pedal chain is short, so there’s very little worry of tone suck between the guitar and the pedals. Then, the buffer is used to help avoid tone suck between the board and the long cable travel to the amps.
- Buffer at the beginning and end of the pedal chain – This setup is quite popular and it’s the one I prefer. It gives you a nice strong low-impedance input to all your pedals and then the signal is again buffered at the end of the pedal chain before it goes to do it’s long voyage to the amps. Some guys run dedicated buffers at the beginning and end. But, if you take a close look at my sample board, the first buffer that sits right at the beginning, is the dedicated custom buffer with true-bypass switch that I mentioned earlier. The last buffer is actually the one provided by the non-true-bypass MXR EVH Phase 90 that’s at the end of the board. I know what you might be thinking, “That’s a mass production pedal and the buffer is not as good as that of a custom dedicated buffer.” Maybe true, but I can’t tell a difference and it works quite well. Sometimes, I take off the Phase 90 and put a true-bypass MXR Carbon Copy, which effectively turns the setup back into at “buffer at the beginning only” rig. Seems to work just fine too, but I’m not running super long cables to the amp either.
That’s about it for buffers vs true-bypass. This is always a topic with never-ending debates. There is more than one “right way” of going about it. However, after hours and hours of research, you’ll find that most experts agree that true-bypass pedals are best but when combined with some sort of buffering system. The type of buffer unit, and buffer unit location you choose will ultimately depend on the type of effects pedals you are running and personal preference. The best results are really almost always found by experimenting. But it’s great when you know certain rules of thumb. It will help keep your experiments in check.
If you are pretty much set on wanting a true-bypass distortion pedal for example, check out the Fulltone OCD, it’s by far one of my favorite true-bypass distortion pedals. See the link below:

Hi Danny! That’s a very interesting article. Her is my question: if you have a Compressor at the beginning of the chain or let’s say an OD that is always on, will that do the job of a buffer?
BTW, when you write: “If all the (true bypass) pedals are off, you have a weak low-impedance signal coming out of your guitar pickups”, do you mean low or high impedance?
Thank you, cheers,
Pascal
@Pascal Costa Hi Pascal – Right! That’s a mistake… I gotta go fix that. It should read “weak high-impedance.” About your other question… In theory yes. If you have a pedal at the beginning of the chain that is always on, it should act as a buffer. Again, the quality of the sound will depend on the quality of that pedal’s circuits, but as far and pushing the strength of the signal, it should do that job.
@Pascal Costa Fixed! Thanks for catching that. -Danny
What do you thank about the GT500 and the Blackstar dt-dual tube distortion pedals and the empress delay thanks in advance enjoyed your articles.
Hey Danny, Just wanted to say thanks for sharing your knowledge and experience with pedal boards. I found it very helpful in planning and building mine. Although mine is very simple,my Boss tuner in front of a couple of true bypass pedals ending with an A B Y (also true bypass) then off to a pair of Marshalls. I have to say I’m pleased with the results and excited about the possibilities of where this is going in shaping my sound. I would be interested to hear your take on compression.
Hi Dean, funny I just logged in today and saw your post. I’ve been quite busy with other projects, so I don’t come here as much as I used to. Thanks for the good words. Glad the site was of help.
As far as compression, I quite like having a compressor on my board. I think it’s one of those pedals I will always have. Simple but effective. I’m running a green Keeley Compressor and I like it a lot. Would highly recommend Keeley.
Thanks for getting back and the advice, I have been doing some research on the different compressors available and and I noticed one thing in common is that every one has a different take on them according to their playing style and tone so I went on down to our local G.C. and picked up a dyna comp. I figured I’d start there and decide if I should lay out the two bills for the keeley. First thing I noticed was a fair amount of noise in my signal but I’m liking the thing alot. Think I’ll play with this one till I get used to it then I’ll probably try the keeley. Thanks again Danny your advice is appreciated. Deano